
turtle tank cleaning siphon vacuum routines are one of the quickest ways to pull out sludge, leftover food, and turtle waste without tearing your whole setup apart.
If you’ve kept a turtle for more than a week, you already know the truth, they’re messy eaters, they shed, and they turn “fine yesterday” water into something suspiciously fast. The good news is you don’t need a complicated system to stay on top of it.
This guide walks through what actually makes siphon cleaning “easy”, which siphon style fits your tank, and a repeatable process you can do in 10–20 minutes, depending on tank size and how heavy your turtle loads the water.
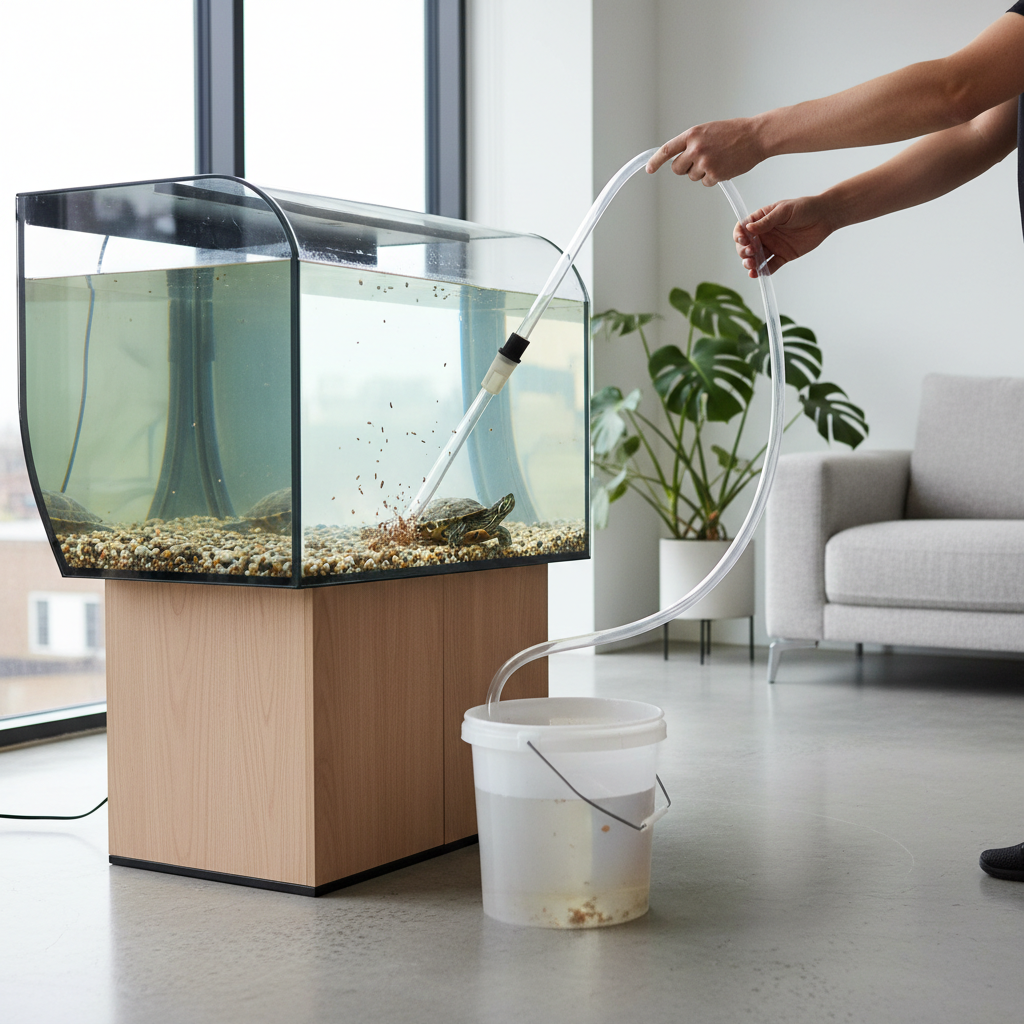
Why turtle tanks get dirty so fast (and why siphons help)
Turtles aren’t “dirty” pets on purpose, but their normal behavior creates the perfect storm for cloudy water. A siphon vacuum works because it removes waste from the bottom, where a lot of problems start.
- Heavy waste output: turtles produce more solid waste than many fish of similar size, so debris settles quickly.
- Messy feeding: torn food, pellets, and protein bits sink, then rot if you miss them.
- Shedding and biofilm: skin flakes and algae/biofilm add to the “gunk layer.”
- Dead zones: decorations and basking platforms can block flow, letting debris build up.
According to the U.S. Environmental Protection Agency (EPA), regular removal of organic waste helps reduce odor-causing decomposition and supports better overall water conditions. In turtle tanks, that translates to less stink and fewer surprise ammonia spikes.
Picking the right siphon vacuum for a turtle tank
Not every “aquarium gravel vac” behaves well in a turtle setup. The best choice depends on tank size, substrate type, and whether you can drain to a bucket or a sink.
Quick comparison table
| Siphon type | Best for | Pros | Tradeoffs |
|---|---|---|---|
| Manual squeeze-bulb siphon | Most turtle tanks (bucket drain) | Simple, reliable start, strong flow | Needs gravity drop and a bucket |
| Hand-pump siphon | When starts are tricky | Less mess starting siphon | More parts to clean |
| Electric water changer / pump | Large tanks, mobility limits | No mouth siphon risk, easier on back | Costs more, can clog with heavy debris |
For most people, a medium-to-large manual siphon with a wide intake tube is the sweet spot. Turtle waste can be chunky, narrow tubes clog more than you’d expect.
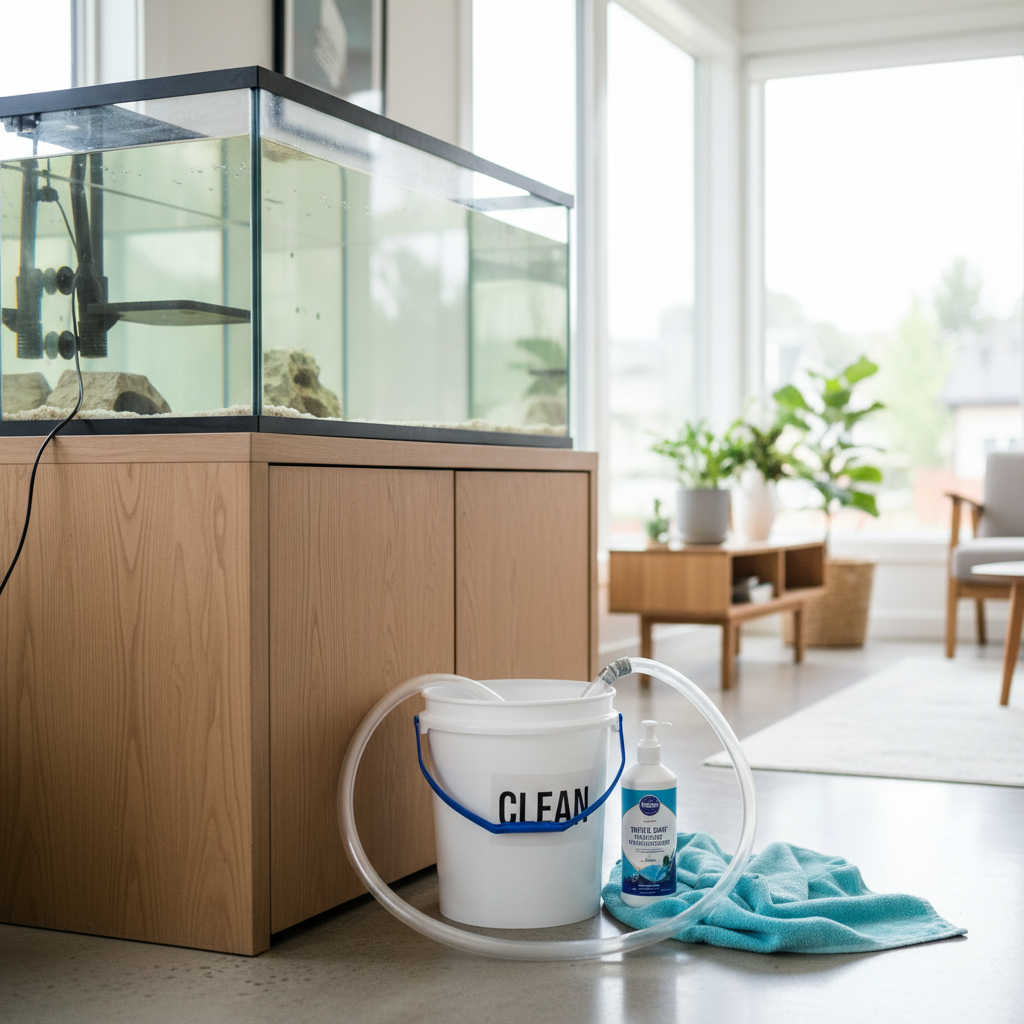
Pre-clean checklist: make siphon cleaning actually “easy”
The step that makes or breaks the experience is setup. If you do these small things, the rest feels almost boring.
- Bucket reserved for aquarium use (no soap residue).
- Towels or a shallow tray under the bucket and hose route.
- Dechlorinator ready (if you’re refilling with tap water).
- A plan for your turtle, usually you can leave them in, but keep fingers clear and avoid stressing them.
- Turn off heater if it might be exposed to air during draining.
Safety note: if you use an electric pump, keep plugs and power strips away from splash zones. If you’re unsure about electrical safety in your setup, it’s reasonable to ask a reptile shop or aquarium professional to take a look.
Step-by-step: turtle tank cleaning siphon vacuum method
This is the repeatable routine that keeps water changes quick. You’re not “deep cleaning,” you’re removing the stuff that keeps feeding dirty water.
1) Start the siphon without drama
- Place the bucket lower than the tank.
- Fill the siphon tube with water if needed, then lower the outflow end into the bucket.
- If your siphon has a bulb/pump, use it until flow is steady.
Avoid mouth-starting a siphon. Aside from being unpleasant, it can expose you to bacteria. If starting is always a pain, switch to a pump-start model.
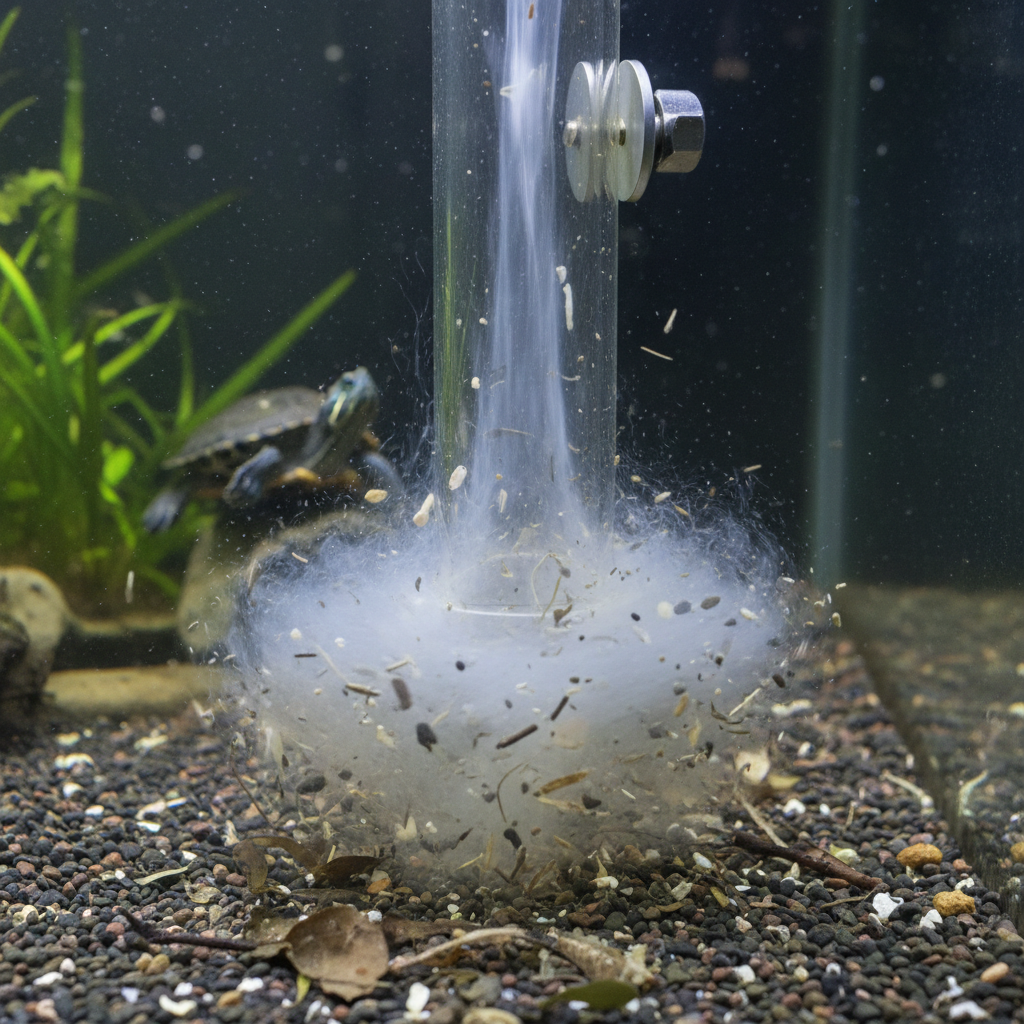
2) Vacuum the bottom in “lanes”
Move methodically, like mowing a lawn, so you don’t stir everything up and miss half of it.
- Press the intake tube down into gravel/sand, let debris lift, then raise slightly.
- Pause over visible waste piles and under basking ramps.
- Don’t chase every speck, focus on dark sludge and food bits.
3) Control how much water you remove
Many turtle keepers do partial changes (often 20–50%) more frequently rather than rare massive changes. The right percentage varies by tank size, filtration, feeding habits, and stocking.
If your water smells sour, looks hazy even after mechanical filtration, or your test results are off, you may need larger or more frequent changes, or a filtration upgrade, not just more siphoning.
4) Refill and condition correctly
- Match temperature as closely as you reasonably can to reduce stress.
- Add dechlorinator as directed for the volume of new water.
- Restart filter and heater once water level is safe.
According to the Centers for Disease Control and Prevention (CDC), reptiles can carry Salmonella even when they look healthy, so washing hands after tank work is a smart baseline habit, especially before handling food or kids’ items.
How to know what you should clean (a quick self-check)
If you’re unsure whether your cleaning routine matches your tank, this quick checklist usually tells you what’s missing.
- Water clouds up within 24–48 hours: often overfeeding, weak mechanical filtration, or debris trapped under decor.
- Strong odor even after a change: waste trapped in substrate, filter media overdue for rinse, or uneaten food dissolving.
- Visible mulm “carpet” on the bottom: siphon intake too small, or you’re hovering above substrate instead of agitating it gently.
- Turtle seems stressed after cleaning: refill temperature mismatch, too aggressive a water swap, or lots of stirring at once.
If you see persistent issues and you already siphon weekly, it may be time to test water parameters and reconsider tank size or filter capacity rather than blaming your technique.
Common mistakes that make siphon cleaning harder than it needs to be
Most frustrations come from a few predictable missteps. Fixing them usually saves more time than buying new gear.
- Using a tiny gravel vac: great for small fish tanks, annoying for turtle waste.
- Cleaning everything at once: deep-scrubbing decor, swapping all water, and replacing media can destabilize conditions.
- Letting the hose whip around: it splashes, stresses your turtle, and knocks things loose. Clip it if needed.
- Ignoring “under the ramp” zones: these pockets collect food and sludge fast.
- Overfeeding to “be nice”: extra food becomes extra cleanup, every time.
Practical routine: keep it clean with less work
If your goal is “easy,” consistency beats intensity. Here’s a realistic rhythm many turtle owners can maintain.
Weekly (10–20 minutes)
- Run a turtle tank cleaning siphon vacuum pass on the bottom, focus on high-waste areas.
- Do a partial water change that fits your tank’s needs.
- Wipe the waterline with a dedicated sponge or pad.
Every 2–4 weeks
- Rinse filter sponges/media in removed tank water (not tap) to clear gunk while being gentle on beneficial bacteria.
- Reposition decor slightly and siphon the “dead zones.”
Feeding tweak that reduces cleaning
Many keepers feed turtles in a separate tub to reduce mess in the main tank. It’s not required, and some turtles dislike the move, but if your water crashes fast, it can help a lot. If you try it, keep handling calm and watch for stress behaviors.
When it’s time to ask for help (or upgrade, not just clean)
If you’re doing the basics and the tank still spirals, the issue may sit outside routine siphoning.
- Persistent foul smell despite regular changes could point to filtration limits or hidden decay under large structures.
- Skin, eye, or shell concerns might relate to water quality, heat, UVB, or diet, and a reptile veterinarian can give safer, case-specific guidance.
- Water tests show recurring ammonia or nitrite may indicate an uncycled tank, overstocking, or media problems that need a more careful plan.
According to the American Veterinary Medical Association (AVMA), reptiles have specific husbandry needs, and when health concerns show up, professional input can prevent guesswork that makes things worse.
Key takeaways (so you don’t overthink it)
- Wide intake + steady routine makes siphoning feel easy, narrow tools create clogs and frustration.
- Vacuum in lanes, target sludge and food bits, don’t obsess over every grain.
- Most “dirty tank” problems improve with better waste removal and realistic feeding and filtration.
- Hand hygiene matters around reptiles, treat tank water like it can carry germs.
Conclusion: cleaner water with a simpler habit
A turtle tank cleaning siphon vacuum isn’t glamorous, but it’s the one tool that reliably turns “I’ll clean it later” into a quick reset you can actually stick with. Pick a siphon that won’t clog, set up your bucket and towels once, then do short weekly passes instead of waiting for a full-on swamp moment.
If you want one action to take today, vacuum the areas under platforms and along the corners during your next partial change, those spots usually hide the most payoff.
FAQ
How often should I siphon vacuum a turtle tank?
Many setups do well with weekly siphoning, but frequency depends on tank volume, turtle size, and filtration. If debris builds up in a few days, shorten the interval rather than doing huge, stressful cleanouts.
Can I use a regular fish-tank gravel vacuum for turtles?
Yes, but a small gravel vac often clogs with heavier waste. If you’re constantly stopping to clear the tube, moving up to a wider intake usually makes the job feel dramatically easier.
Is it okay to leave my turtle in the tank while siphoning?
Often yes, as long as your turtle isn’t panicking or trying to bite the tube. Work slowly, keep hands out of the bite zone, and pause if the turtle seems overly stressed.
Why does my tank still smell after I siphon and change water?
Smell often comes from trapped organic material under decor, in corners, or inside filter sponges. Siphon those “dead zones,” and consider rinsing mechanical media in tank water during your next maintenance.
Should I remove all the water and deep clean the tank?
Usually that’s overkill unless you’re correcting a specific problem. Large, frequent deep cleans can disrupt stability; many turtle keepers get better results from consistent partial changes plus bottom vacuuming.
Can siphon cleaning remove beneficial bacteria?
Vacuuming the bottom mainly removes physical debris, not the core biological filtration. The bigger risk is aggressively replacing or washing all filter media at once, so keep media maintenance gentle and staggered when possible.
What if sand keeps getting sucked up during siphoning?
With sand, hover slightly higher and use short dips to lift waste without pulling too much substrate. A wider tube and lighter touch usually solve it after a couple sessions.
If you’re trying to make maintenance less of a weekly chore, a slightly larger siphon tube, a better hose route, and a simple routine you can repeat matters more than “perfect” cleaning, and if you’d rather not guess, bringing your tank size, filter model, and a quick water-testing snapshot to a local aquarium shop or reptile specialist can speed up the right tweaks.