Cat grooming guide questions usually show up when shedding gets out of hand, mats pop up overnight, or nail trims turn into a wrestling match, and the good news is most at-home grooming becomes easier once you follow a predictable order.
This walkthrough focuses on practical routines for U.S. cat owners, including what to do for short-hair vs. long-hair coats, how to pick tools that match shedding level, and when it’s smarter to stop and ask a groomer or veterinarian for help.
One quick expectation check, “grooming” is rarely one big session, it’s usually several small wins stacked across the week. That’s why a simple cat grooming schedule often beats a long, stressful Sunday marathon.
Before You Start: Set Up for a Calm, Safe Session
Most at-home grooming fails for one reason, timing and setup. If your cat already feels cornered, even perfect technique won’t land well. Pick a quiet room, close the door, and keep the session short enough that you can end on a neutral moment.
- Choose the right moment: after a meal or play tends to work better than right after a nap interruption.
- Use a non-slip surface: a yoga mat or folded towel reduces scrambling, which reduces panic.
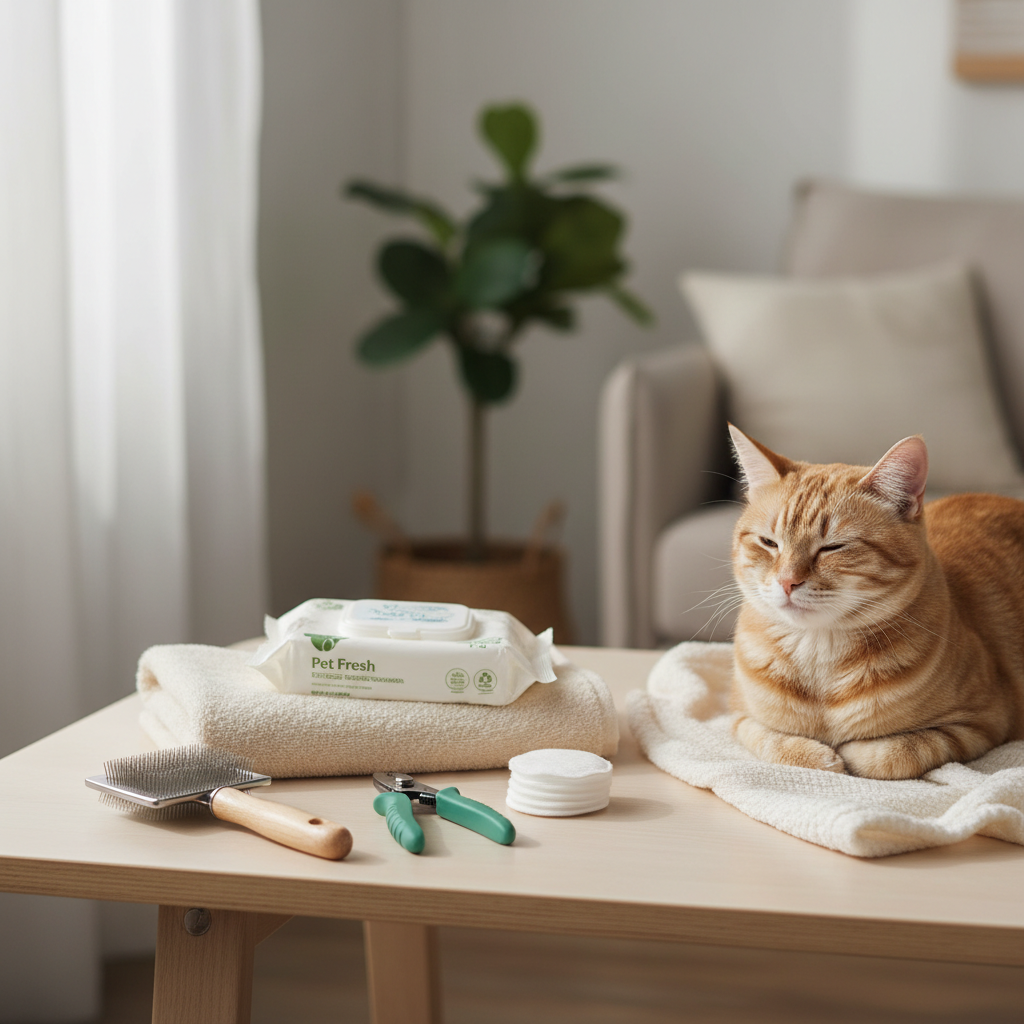
- Keep tools within reach: getting up mid-session often resets your cat’s stress level.
- Plan the order: brushing before bathing, nails after a calmer step, ears last if tolerated.
According to the American Veterinary Medical Association (AVMA), gentle handling and low-stress techniques can help reduce fear during routine care, if your cat escalates quickly, shorter sessions with breaks typically work better than pushing through.
Step-by-Step: How to Groom a Cat at Home
If you’ve been searching how to groom a cat at home, here’s a sequence that’s workable for most households. Think “coat, nails, ears, then optional bath,” because tangled coat and loose undercoat make everything else harder.
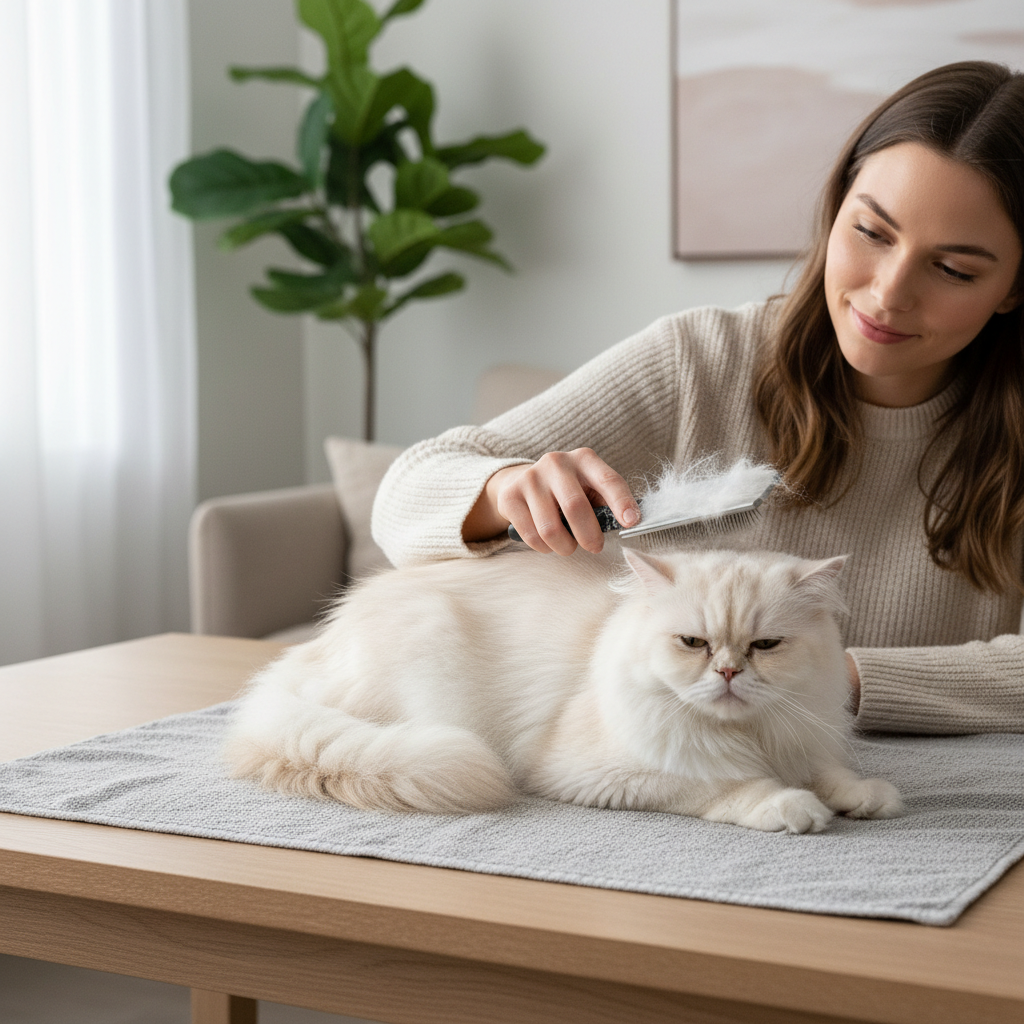
Step 1: Brush and detangle (start easy)
Start with a few slow strokes in the direction of hair growth, then pause. Many cats accept grooming in short bursts, so build cooperation first, then add duration.
- Short hair: use a rubber curry brush or soft bristle brush for 2–5 minutes.
- Long hair: use a wide-tooth comb to find small tangles, then a slicker brush for finish.
- Mats: don’t yank. If a mat sits close to skin, it can be safer to ask a professional groomer.
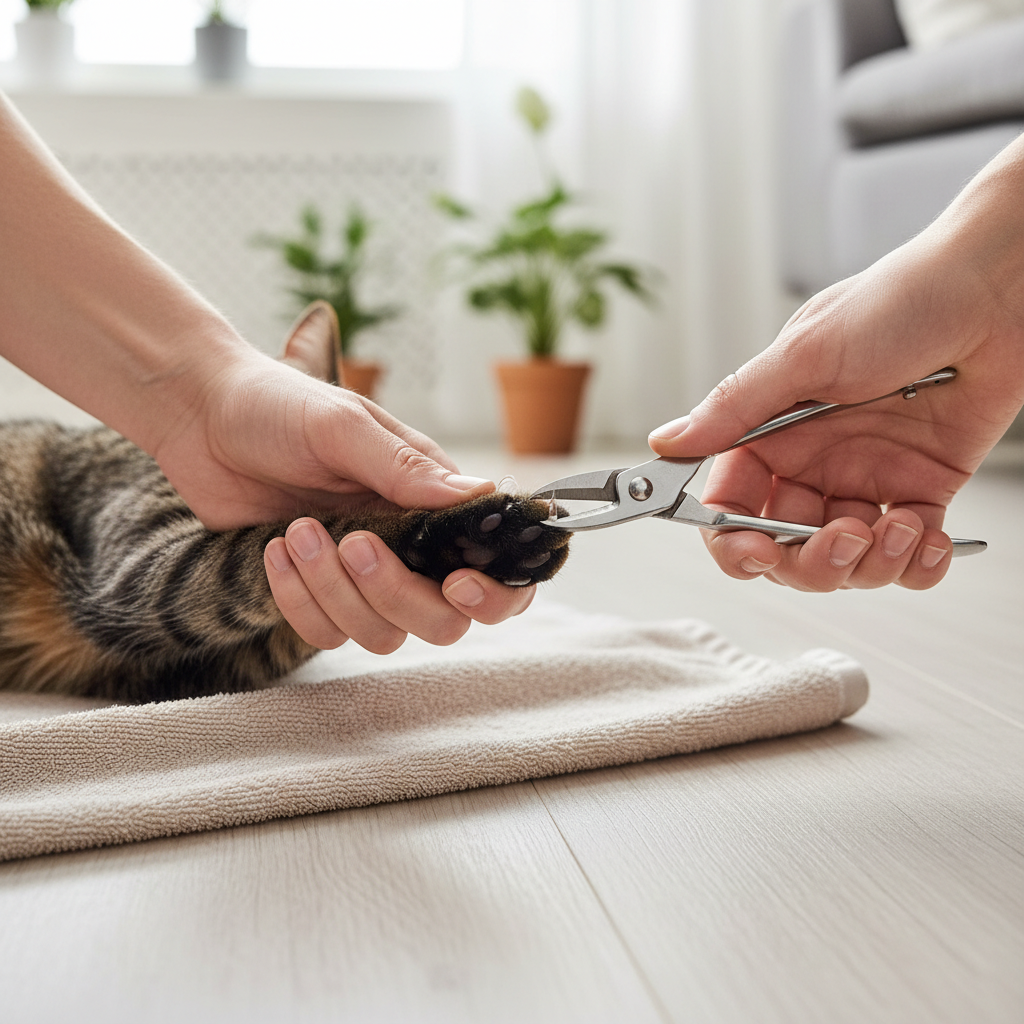
Step 2: Handle paws and trim nails (only if calm)
Good cat nail trimming instructions begin before the clipper touches a nail, touch paws, press gently to extend the claw, reward, repeat. If your cat tolerates that, move to a single nail, then stop.
- Use sharp cat nail trimmers, dull blades can crush and hurt.
- Clip the tip only, avoid the pink quick where blood vessels run.
- If you hit the quick and bleeding happens, apply styptic powder and pause the session.
According to the American Animal Hospital Association (AAHA), positive reinforcement and gradual handling exercises can improve cooperation with routine care tasks like nail trims.
If nail trims always go badly, it’s not a moral failing, it’s often a handling tolerance issue. You can still keep nails manageable with scratching posts, trim one or two nails per day, or ask a clinic to demonstrate technique.
Step 3: Clean ears (only if they look normal)
For cat ear cleaning how to, the safe version is simple, wipe what you can see, don’t go digging. Healthy ears usually look pale pink with minimal wax and no strong odor.
- Use a pet ear cleaner and cotton pads, not cotton swabs deep in the canal.
- Wipe the inner flap and the visible bowl area gently.
- Stop if your cat shows pain, head shaking, or the ear looks very red.
According to the ASPCA, you should avoid inserting anything into the ear canal, and contact a veterinarian if you notice discharge, swelling, or persistent odor.
Step 4 (optional): Bathing, only when it’s truly needed
Many cats don’t need regular baths. Cat bathing steps make sense when there’s sticky residue, skunk-like odor exposure, medical shampoo needs, or severe dandruff where a veterinarian has recommended bathing.
- Brush first, water tightens mats.
- Use lukewarm water, keep it shallow, and avoid spraying the face.
- Choose cat-safe shampoo, rinse longer than you think necessary.
- Towel dry, then allow air-dry in a warm, draft-free room.
Choosing Tools: Best Cat Brush for Shedding and More
The best cat brush for shedding depends on coat type and how sensitive your cat feels on skin. One brush doesn’t cover every job, but you also don’t need a drawer full of gadgets.
- Rubber curry brush: great for short-hair cats, gentle, good for bonding.
- Slicker brush: helps with longer coats and light tangles, use a soft-touch model for sensitive cats.
- Metal comb: finds hidden knots near armpits, belly, and behind ears.
- Deshedding tools for cats: helpful during seasonal coat blow, but use lightly to avoid skin irritation.
A practical rule: if you see skin redness after brushing, scale back pressure and frequency, and switch to a gentler tool. Many “shedding problems” are actually “too much pressure” problems.
Routines That Fit: Long Hair vs. Short Hair Cat Grooming Routine
This is where a lot of generic cat grooming tips fall apart, a long-hair cat grooming routine often needs more frequent, shorter sessions, while short-hair cats can do fine with fewer touchpoints.
Long hair cat grooming routine (typical baseline)
- Comb trouble spots 3–5 times per week: behind ears, under collar area, armpits, belly.
- Slicker brush 2–4 times per week for overall coat.
- Quick “spot checks” daily if your cat mats easily.
Short hair cat grooming routine (typical baseline)
- Brush 1–2 times per week, increase during heavy shedding seasons.
- Wipe coat with a damp hand or pet wipe if your cat dislikes brushes.
If your long-hair cat mats despite frequent brushing, the issue might be friction areas or early tangles you can’t see yet, a metal comb pass, very gently, usually reveals them faster than a brush.
A Simple Cat Grooming Schedule (Use This as a Starting Point)
Instead of guessing, use a schedule and adjust based on coat, age, and tolerance. Older cats, overweight cats, and cats with arthritis may struggle to self-groom, so they often need extra support.
| Task | Short-Hair Cats | Long-Hair Cats |
|---|---|---|
| Brushing | 1–2x/week | 3–5x/week (spot checks often) |
| Nail trims | Every 2–4 weeks | Every 2–4 weeks |
| Ear check | Every 2–4 weeks | Every 2–4 weeks |
| Bathing | As needed | As needed (more often if advised) |
Key point: “as needed” is not a cop-out. Many cats stay cleaner with routine brushing than with frequent baths, and bathing too often can dry skin, depending on shampoo and individual sensitivity.
Common Mistakes That Make Grooming Harder
- Waiting for a full meltdown: if tail thumping starts, stop early and end neutrally.
- Trying to remove mats with scissors: skin can pull into the mat and cuts happen fast, clippers in skilled hands are safer.
- Overusing deshedding tools: too much pressure can irritate skin and make your cat hate brushing.
- Ignoring behavior signals: flattened ears, growling, sudden grooming of self can be “I’m done” messages.
If you want one mindset shift, treat grooming like training, not like a chore you force to completion. That tends to change outcomes within a couple of weeks.
When to Get Help From a Vet or Professional Groomer
At-home care has limits, and that’s normal. Ask for professional help if any of these show up:
- Repeated matting close to skin, especially in elderly or overweight cats
- Ear odor, dark discharge, head tilt, or signs of pain during ear handling
- Skin sores, bald patches, heavy dandruff, or sudden coat changes
- Extreme fear, aggression, or a history of injury during grooming attempts
In many cases a veterinarian can rule out medical causes like skin infection, parasites, or pain, and a groomer can safely handle coat issues using the right equipment.
Practical At-Home Workflow (A Repeatable 15-Minute Plan)
If you want a routine you can actually repeat, aim for 10–15 minutes, two or three times per week, and rotate tasks.
- Session A: quick brush + comb trouble spots
- Session B: brush + 2–4 nails only
- Session C: brush + ear check and wipe (if normal)
Keep treats or a favorite toy as a closing ritual, not a bribe mid-chaos. The goal is to teach your cat that grooming predicts something decent at the end.
Conclusion: Keep It Simple, Keep It Consistent
A solid at-home routine isn’t about doing everything every time, it’s about building a predictable rhythm that reduces shedding, prevents mats, and keeps nails and ears from becoming “emergencies.” Pick the right brush for your coat type, follow calm handling basics, and let the schedule do most of the work.
If you take one action today, set up your tools and run a two-minute brush session when your cat already feels relaxed, that tiny start usually beats waiting until the problem feels urgent.